Instruction for eG-SCOM Integration
The eG SCOM Connector plugin enables the integration between eG Enterprise Suite and System Center Operations Manager (SCOM). This integration will enable you to view the components monitored by eG on the SCOM console. Here is the detailed procedure for enabling the eG SCOM integration.
Pre-requisites:
Ensure that the following requirements are met before installing eG-SCOM Connector setup,
Hardware |
Requirements |
|
Disk space |
%SYSTEMDRIVE% requires at least 2048 MB free hard disk space. Recommended – 4 GB. |
|
Operating System |
Windows Server 2008 Or Windows 7 Or Later. All operating systems must be installed with latest service pack. Server operating system is recommended for production deployments. |
|
Processor architecture and Speed |
X64 and X86, 2.0 GHz or faster. Every additional 100 components to be integrated, add 1 additional processor with 2GHz processing speed. |
|
RAM |
Minimum - 2GB. Every additional 100 components to be integrated, add additional 2 GB RAM. Recommended – 4 GB. |
|
Software |
Requirements |
|
SCOM Agent |
SCOM Agent 2012/2012 SP1/2012 R2/2016 A dedicated SCOM Agent with latest Update Rollup (UR) is recommended for production deployments. |
|
.Net Framework(Full) |
SCOM 2012 - v4.0 Or above SCOM 2016 - v4.5.2 Or above Make sure that .NET Framework 3.5 Features is installed. |
Checklist before installing SCOM
- It is recommended that the eG SCOM Connector Setup must be deployed on a dedicated system/host for production deployments.
- The Windows Installer Service should pre-exist on the system chosen for installing the eG SCOM connector setup.
- The system hosting the connector should be able to communicate with the eG manager and the SCOM SDK service via TCP ports. The specific ports that need to be opened; eG manager listening port (default: TCP 7077) and SCOM listening port (default: TCP 5723).
- A dedicated user with monitor role should be created in eG manager for connector integration. Any components that you wish to view on the SCOM console should be associated with this user.
- It is recommended to tuning the monitoring threshold of SCOM agent on the connector machine. Otherwise if any violation of threshold value, it will automatically attempt to restart the System Center Management Health Service. So we must override the monitors and its values mentioned below;
|
Monitor Name |
Override Value |
|
Health Service Private Bytes Threshold |
3221225472 (3GB) |
|
Health Service Handle Count Threshold |
30000 |
|
Monitoring Host Private Bytes Threshold |
3221225472 (3GB) |
|
Monitoring Host Handle Count Threshold |
30000 |
Steps to fine tune the monitoring threshold of SCOM agent
- Go to SCOM console -> authoring tab -> click Monitors -> select “look for” search result column and type “private bytes”.
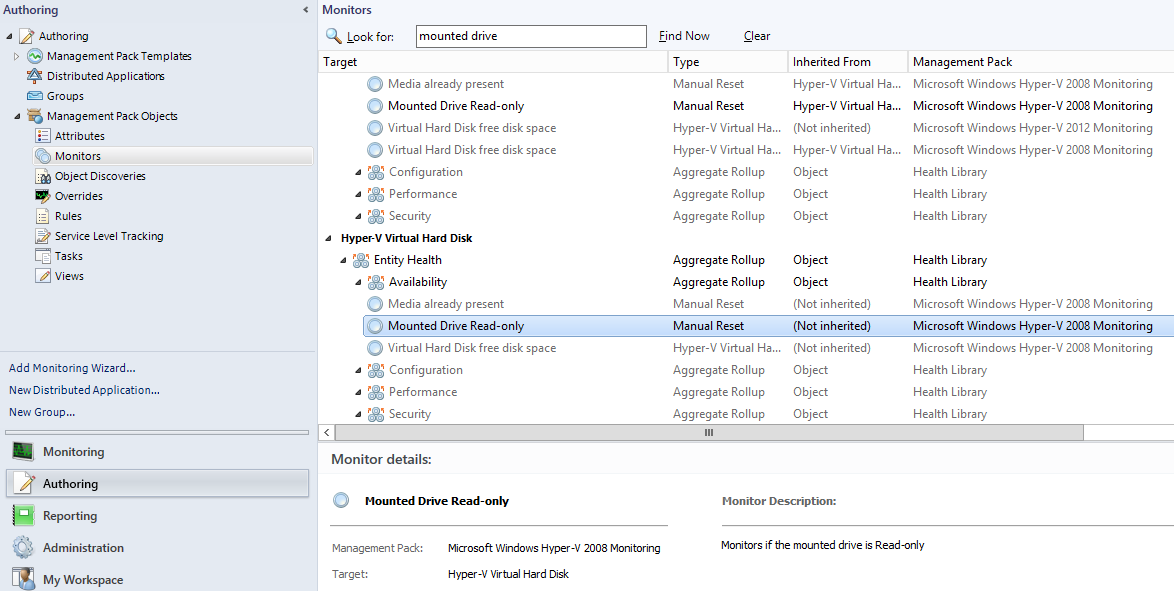
- Select “Agent” option in Target column, navigate to “Health Service Private Bytes Threshold” monitor.
- Right-click on that monitor and follow the menu sequence, Overrides -> Override the Monitor -> “For a specific object of class: Agent”. The list of SCOM agent hosts are displayed here, pick the server that hosts the eG SCOM Connector.
- Then select “Agent Performance Monitor Type – Threshold” by clicking on the corresponding checkbox. Then, set the “Override value” of this parameter to 3221225472 (equal to 3 GB).
- Pick the “Default Management Pack” option from the “Management Pack” section, and click the “Apply” and “OK” buttons.
- Use the same procedure discussed above and override the remaining monitors with appropriate values as well.

Installation Steps:
- Select the eG SCOM Connector Setup file from our repository, that corresponds to the eG Manager Version (i.e., v565 & above) and SCOM version (i.e., SCOM 2012/2016) that is in use in your environment and the processor configuration (i.e., 32-bit or 64-bit).
- Install the eG SCOM Connector Setup on SCOM Agent host.
- After successful installation, have to configure the eG SCOM Connector. Navigate through the Windows Start Menu and look for “eG SCOM Connector”. Then click “Configuration & Setup Tool” option.
- On SCOM Server tab, add the IP address of the SCOM server and SDK admin user’s credentials. Use Test Connection button to validate the credentials used.
- The Management Server will be used to connect SCOM server. Here specify the IP address/Host name of Management server in your environment.
- The SDK Admin User and Password text boxes specify the credentials of a user who is authorized to connect SDK service and perform administration functions. Here specify the User in the given format; <DomainName>\<UserName>.
- On the eG Manager Tab, specify a string for the Manager Unique ID and provide Manager URL, Username and Password credentials which the connector used to connect the eG manager. Use Test Connection button to validate the credentials used
- The Manager ID should be unique. Make sure that, the same Manager ID has not been used for any other eG SCOM Connectors are reporting to this same SCOM server. It does not contain special characters other than Underscore (_).
- The Manager URL will be used to connect eG manager. Here specify the URL in the given format; http://<ip address>:<port> or https://<ip address>:<port>
- The User and Password text boxes specify the credentials of a user who is registered with the eG Enterprise system for integration. Any components that you wish to view on the SCOM console should be associated to this user. Ensure unique set of eG components are associated to this user if multiple eG connectors are reporting to this same SCOM server.
- The Active Directory group users are not supported.
- Should use the eG user with Monitor role.
- Ensure that the eG user does not contain special characters other than Underscore (_) and Dot (.).
- Under the Setup tab, install eG SCOM connector using Install button. If required, check the Custom box and use the customized setup options.
- After successful installation, navigate to Connector tab and click Start button to start the eG SCOM connector service.
- On SCOM Server tab, add the IP address of the SCOM server and SDK admin user’s credentials. Use Test Connection button to validate the credentials used.
- For more information and troubleshoot issues, use the “ConnectorService.log” file in C:\Program Files\eG SCOM Connector\Logs directory.
eG SCOM ConsoleTask Setup:
The final step towards integrating the eG Enterprise Suite with SCOM is to install the “eG SCOM ConsoleTask” setup. It will enable you to launch the eG manager UI from SCOM Operations console.
eG SCOM ConsoleTask Installation Steps:
- Select the eG SCOM ConsoleTask Setup file from our repository.
- Install the eG SCOM ConsoleTask Setup on SCOM Operations Console host.
- After successful installation, re-open the SCOM Operations console and click “Diagnose using eG” link to launch eG manager UI.
eG SCOM ConsoleTask Uninstallation Steps:
- Go to the command prompt in ‘Run as administrator’ mode, switch to the install directory of the eG SCOM Console Tasks setup.
- Run the given command; eGConsoleTaskHandler.exe StopAllInstances
- After that, Go to Start -> Control Panel -> Add/Remove Programs.
- Select the “eG SCOM ConsoleTasks” application from the list of Programs installed on that host, and click on “Remove” button to uninstall the setup.
- Finally, click on “Finish” button to exit the wizard.
Was this article helpful?
That’s Great!
Thank you for your feedback
Sorry! We couldn't be helpful
Thank you for your feedback
Feedback sent
We appreciate your effort and will try to fix the article